|
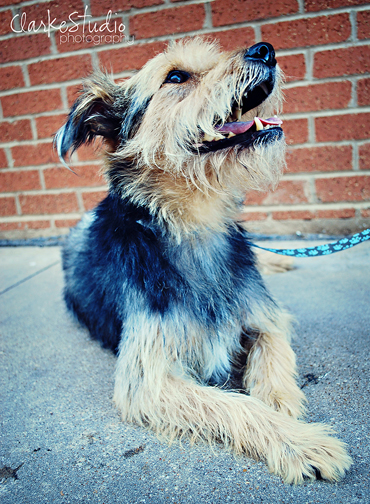
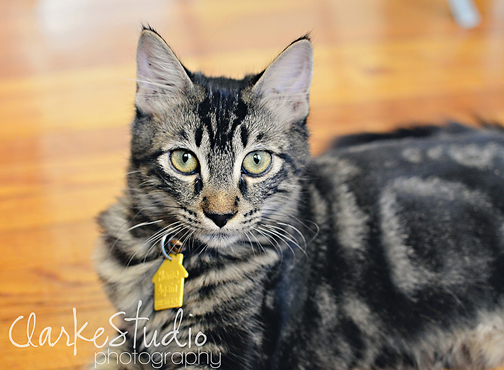
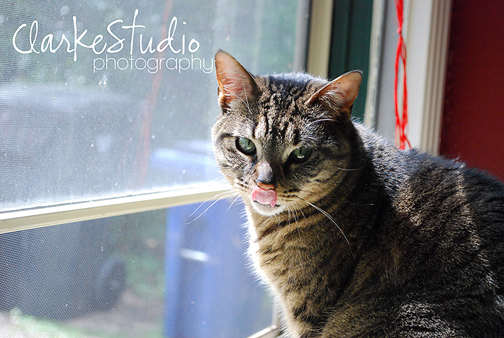
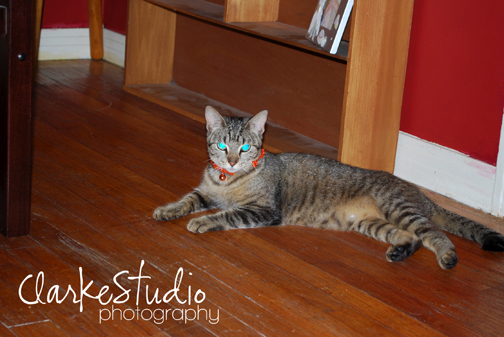
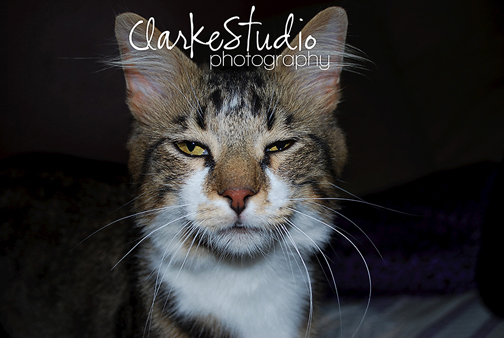
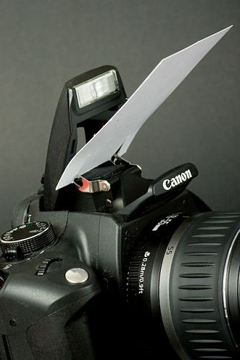
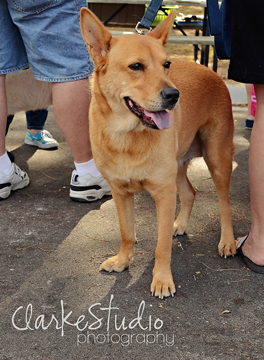
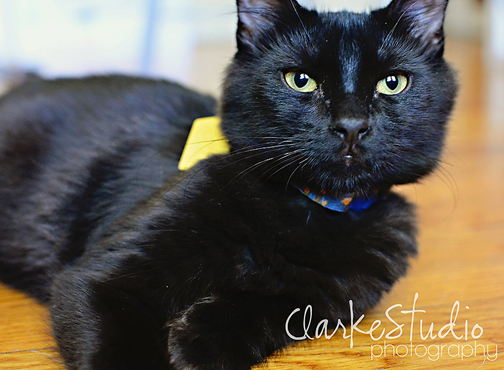
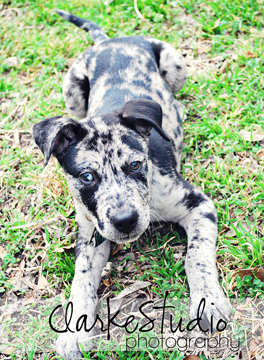
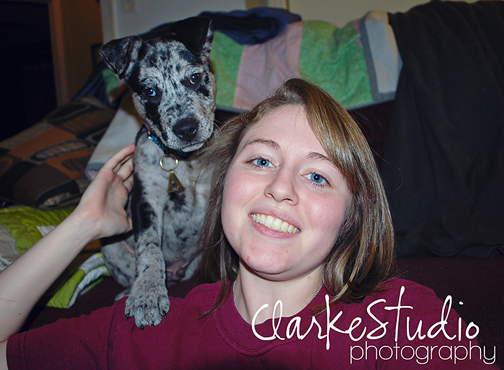
September 22, 2011 by Shelby Clarke, Lifestyle and Pet Photograher Natural light creates the most beautiful photos; the following five tips will help achieve the natural light look whether shot indoors or out. Remember to “Learn to play with what you have, and be creative with the opportunities given.” 1. Control when you shoot a. When using natural lighting outside shooting during the mornings and evenings will give you a softer and sweeter light (mornings will be cooler and have a cooler tonal range than evenings which will be warmer) Midday is by far the worst time to shoot, images shot at mid day usually have harsh shadows. If Midday is the only time available to shoot, take photos in the shade and use a reflector (Tip 3) for additional light b. If using natural light for indoor images choose the brightest part of the day, noon to 3 or so. Have your subject close to the light source and take advantage of all the beautiful lighting! Or back them off from the source add a sheer window cover and diffuse the light for a softer look. This is Huey, shot at Midday inside with only the windows open (shades up and curtains pulled back). Here Charlie is right next to the window, giving us more dramatic lights and shadows. 2. Turn off the Flash a. Turning off the flash will give you a photo without the reflection in the eyes and get rid of the blue/green eye in dogs and cats. You will get truer colors and less squinty-eyed photos! The Blue/Green eyes that Charlie has, which are equivalent to a person’s red eye are from the use of an on-camera flash. Here Sherwin gave me the stink eye because on the flash. No Blue/Green eye but he does look angry. 3. Additional Lighting/Reflectors a. If you need additional lighting use reflectors during your shoot the best thing to use are the reflectors for your car’s windshield. They are half the price of professional photographers reflectors and work just as well. Have an assistant kneel to your left or right, and hold the reflector at a 45 degree-ish tilt to add light to dark or shadowed areas. b. If you have no other option but to use a flash, use a diffuser of some sort. For DSLR cameras place a business card at a 45 degree angle in front of the flash to difuse it through and bounce behind you. If using a Point and Shoot visit this website for a Diffuser DIY. 4. Position of your model/subject/animal a. Have a couple of places to shoot based on when you are shooting and be flexible. I have and keep a list of my favorite places to shoot in the morning and evening outside, and favorite places inside and know what works for you! Here I have the pup’s back to the early morning sun and in the shade, it was also a great opportunity to use a reflector and bounce some ambient light back onto the subject. Here I have a large window open allowing light in from the outside at midday with no supplemental lighting. 5. Cloudy days a. … are some of the best days to shoot! The environment will create a natural light box and you will have even lighting all over! Just avoid images with the sky, they aren’t pretty, use these days for close ups and detail images! This was shot at 12 noon on a very cloudy day. Notice the soft even tone, little to no shadows and authentic colors. About the Author and Photographer, Shelby Clarke: Shelby owns and operates, ClarkeStudio Photography a pet and lifestyle photography studio in Central Texas. She started studying photography in 2003, although growing up painting and sketching it was behind the camera where she found her niche. She volunteers with the Animal Birth Control Clinic in Waco and is participating in the Smile for a Cure Campaign that raises money for Canine Cancer Research. She and her husband have 3 cats, Charlie, Shade, and Huey, and their crazy Catahoula, Asher; all are rescues. You can see more of Shelby’s photography on her blog. Alva’s Note: Like any good advertising or marketing campaign, good photos sell! And that is true for pet adoption as well! Quality photos can make a great first impression for pets in need of rescue or adoption and is one of the proven no kill initiatives for increased pet adoptions. The following is the first of a Pawsitively Texas Best Practice Series on Photographing Shelter and Rescue Pets to help them find their forever home. Click here to see the other blog posts in this series on pet photography tips. Subscribe Now: Be sure and subscribe to follow and never miss an informative Pawsitively Texas blog post! Add your email address, then click the Subscribe Now link. Look for the yellow/orange icon in the upper right column.
|

